React 19 Notes
Use Node.js 20 LTS or newer. Scaffold projects with npm create vite@latest and choose the React template. Install the ES7+ React/Redux/React-Native snippets extension in VS Code for faster component authoring.
In this lesson you will complete your React setup using Vite — the fast, modern build tool recommended for new React projects in 2026. By the end you will have a running dev server and a hello-world component you can edit live in the browser.
Prerequisites: Lesson 1 (React Introduction). Estimated time: 40–50 minutes.
1. Install Node.js 20+
React development requires Node.js (which includes npm, the package manager). Download the LTS version from nodejs.org.
Verify the installation in your terminal (Terminal on Mac, PowerShell or Windows Terminal on Windows):
node --version
npm --version
You should see Node v20.x or newer and npm 10.x or newer. If either command fails, restart the terminal after installing Node.

2. Create a React Project with Vite
Open a folder where you keep projects (for example ~/projects) and run:
npm create vite@latest my-react-app -- --template react
cd my-react-app
npm install
When prompted, Vite may ask for confirmation — accept the defaults. The react template gives you a minimal React 19 app with JSX and hot module replacement (HMR).
Alternative templates:
react-ts— React + TypeScript (use when you are ready for types)react-swc— same as react but uses SWC for faster compiles

3. Understand the Project Structure
After scaffolding, your folder looks like this:
my-react-app/
├── public/           # Static assets (favicon, etc.)
├── src/
│   ├── App.jsx       # Root component
│   ├── App.css       # Styles for App
│   ├── main.jsx      # Entry point — mounts React to #root
│   └── index.css     # Global styles
├── index.html        # Single HTML shell
├── package.json      # Dependencies and scripts
└── vite.config.js    # Vite configuration
Key files:
index.html— contains<div id="root"></div>where React attachessrc/main.jsx— callscreateRoot(document.getElementById('root')).render(<App />)src/App.jsx— your main UI component (edit this often while learning)
4. Run the Development Server
Start the local dev server:
npm run dev
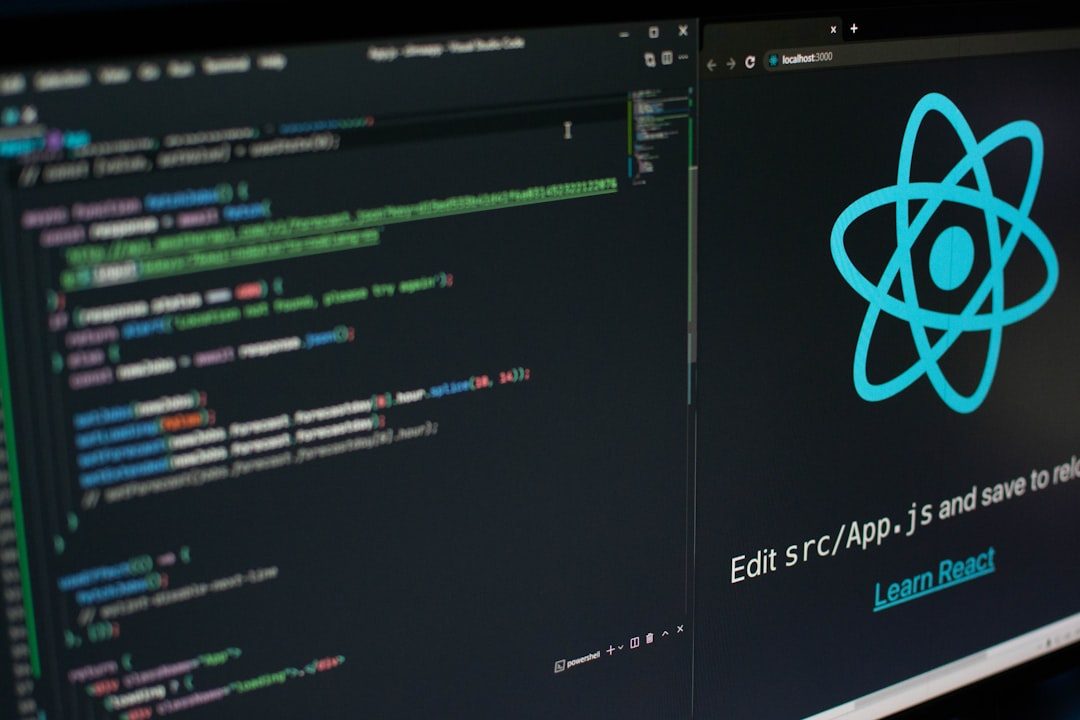
Vite prints a local URL, typically http://localhost:5173. Open it in your browser. You should see the default Vite + React welcome page with a counter button.
While the server runs, edit src/App.jsx — save the file and the browser updates instantly without a full reload. This HMR workflow is why Vite is preferred over older Create React App tooling.
5. Your First Custom Component
Replace the contents of src/App.jsx with a simple hello-world:
function App() {
  return (
    <main style={{ fontFamily: 'system-ui', padding: '2rem' }}>
      <h1>Hello, React!</h1>
      <p>My first React app on Kindson The Genius.</p>
    </main>
  );
}

export default App;
Save and confirm the page shows your heading. Congratulations — you have a working react setup vite project.
6. VS Code Setup (Recommended)
Visual Studio Code is a free editor well suited for React. Install these extensions:
- ES7+ React/Redux/React-Native snippets — shortcuts for components
- ESLint — catch common JavaScript mistakes
- Prettier — consistent formatting (optional but helpful)
Open your project folder with code . from the project directory. Use the integrated terminal (Ctrl+` or View → Terminal) to run npm run dev without leaving the editor.
7. Build for Production
When you are ready to deploy, create an optimized production build:
npm run build
npm run preview
npm run build outputs static files to dist/. Host them on Netlify, Vercel, GitHub Pages, or any static file server. npm run preview serves the production build locally for testing.
8. Common Setup Issues
- Port 5173 in use — Vite picks the next free port; read the terminal output for the correct URL
- Permission errors on npm — avoid
sudo npm install; fix npm permissions or use nvm - Old Node version — upgrade to Node 20 LTS; React 19 expects modern JavaScript features
- Blank page — check the browser console (F12) for syntax errors in JSX
9. Next Steps
Your environment is ready. Continue to Lesson 3 — React JSX and Components to learn how JSX works and how to split UI into reusable components.
Back to Lesson 1 — React Introduction
Frequently Asked Questions
What do I need to install before learning React?
Install Node.js 20 or newer and npm. Vite scaffolds a React project in one command.
Should I use Vite or Create React App?
Use Vite. It is faster, officially recommended for new React projects, and is the default toolchain in this tutorial series.
Can I use yarn or pnpm instead of npm?
Yes. Replace npm install with yarn or pnpm install if you prefer those package managers.
Want live React or frontend classes? Join Alkademy for instructor-led React and JavaScript courses with hands-on projects.
Leave a Reply